No products in the cart.
Roll a Cone Joint Perfectly Every Time
25 Mar 2024
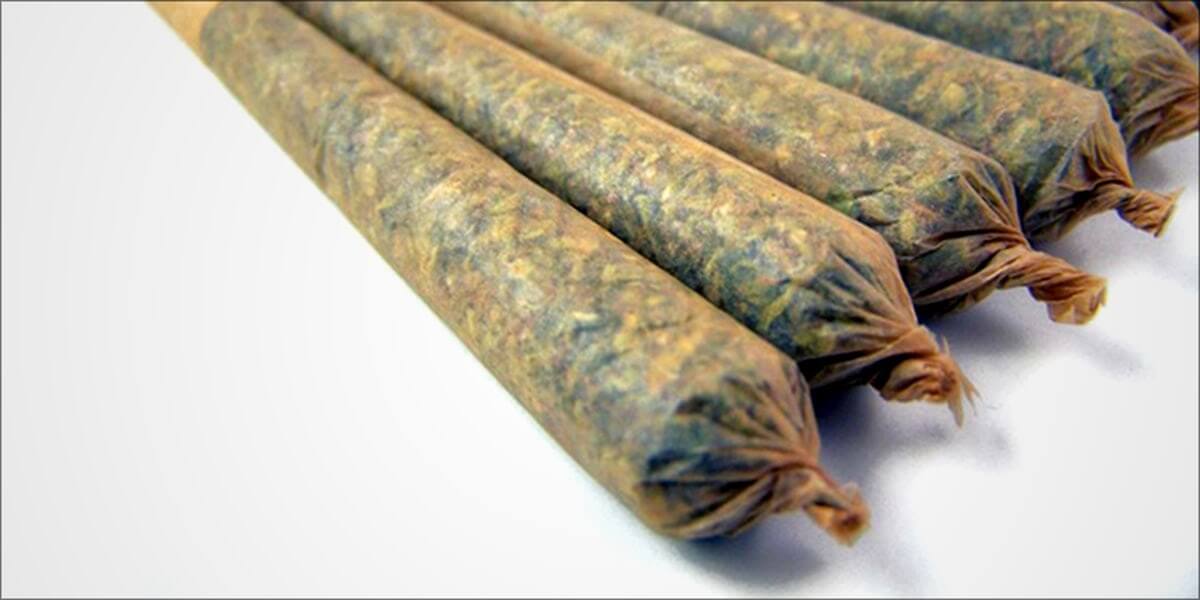
For many people, smoking a joint is as much about the ritual of it as it is about getting high. There’s almost a ceremony to rolling up and lighting a joint. As we watch our friends create something beautiful from something so simple: a piece of paper and a few leaves. That being said, there can be something of a trick to rolling a cone joint; especially if you’re new to smoking.
When you get it right you’ll have a smokeable cone that doesn’t fall apart as soon as you put it to your lips. When you get it wrong… Well, let’s just say that things don’t always go smoothly for everyone on their first few attempts.
Fortunately for you, this article has everything you need to know about rolling the perfect cone joint.
What You’ll Need to Roll a Perfect Cone Joint
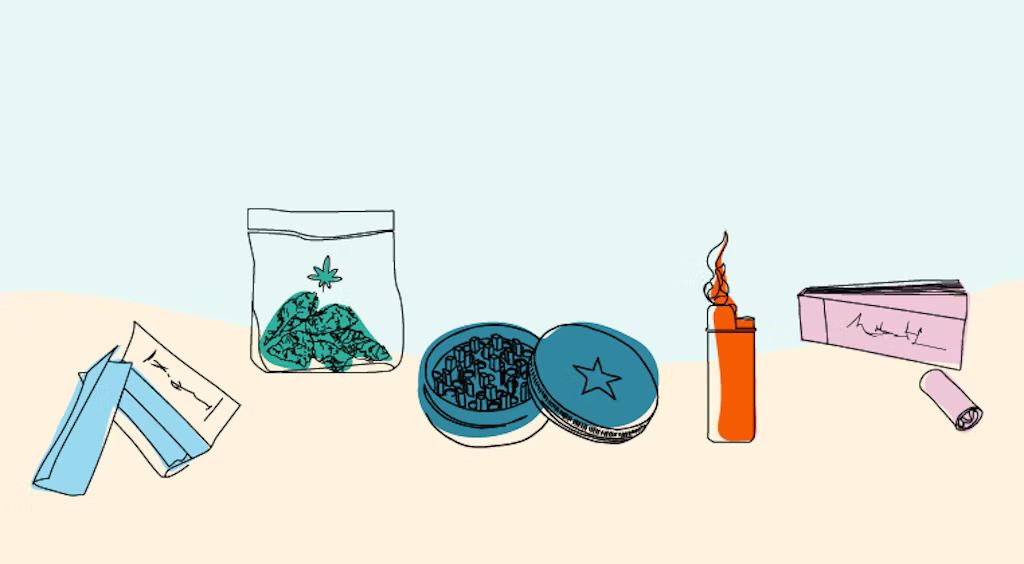
The first thing you’ll need to do is gather your materials. When it comes to rolling a cone joint, you’ll want to use a thin paper so it’s easier to roll up.
Something like a regular cigarette paper isn’t going to work well for this: it’s far too thick. Most people use a rolling paper.
Some rolling papers often come pre-cut with perforations and creases, which can make it harder to roll a perfect cone joint.
You’ll also need a good quality grinder to grind your weed before you roll it up. Again, you want to use a grinder that’s thin.
A standard-sized grinder is going to be much too bulky to fit inside the cone joint.
Ideally, you’ll want to look for a travel grinder that comes in a thin, rectangular shape. These can be much easier to use than a standard sized grinder.
Step 1: Prepare
We recommend breaking your bud up into a suitable size using a quality grinder. This method saves time, plus it will prevent your fingers from getting too sticky to roll the paper later.
You want to render your bud down into small particles, but not into dust. This will allow for optimal airflow and burn rate. Be sure to shop for some Cannabis at Cannabismo!
As well as making a crutch. A crutch is basically a mouthpiece for your joint, also referred to as a filter or tip.
You can make crutches out of thick paper or thin cardboard, like most business cards are made of. You can also buy special crutch paper, and many rolling papers already come with some.

Step 2: Roll the Tip of the Cone
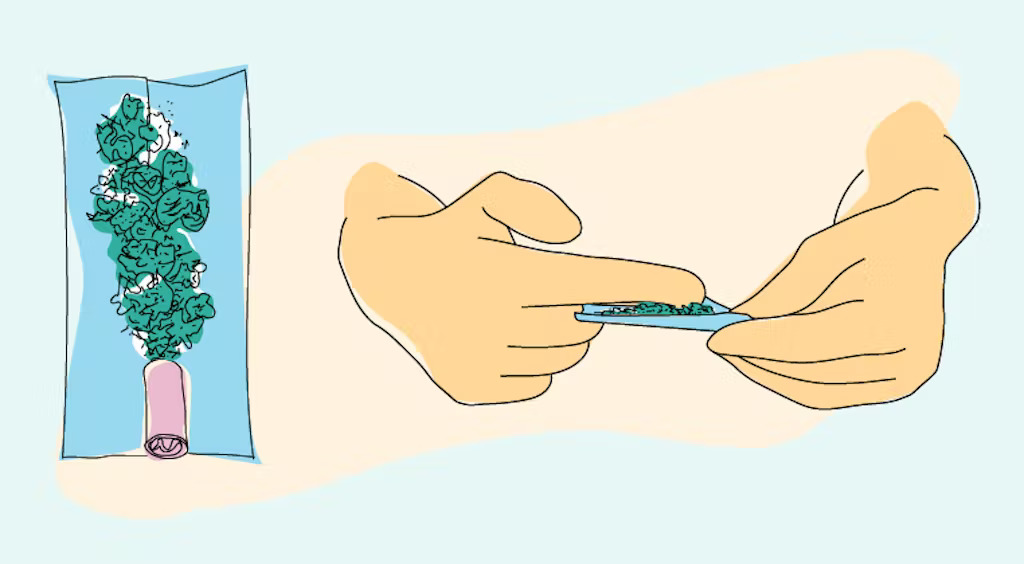
The easiest way to roll a cone joint is to start with the tip. Roll the end of the paper into a cone shape and hold it in place with one hand.
With your other hand, fill the cone by sprinkling your ground weed inside. A good tip is to fill the cone about two-thirds full. You don’t want to overdo it, as the paper won’t be able to contain all that extra weed.
You should now have a cone-shaped paper with the weed inside. To keep the paper from unrolling and spilling the weed inside, you’ll want to hold the cone in place with one hand and use the other hand to roll the paper down.
Roll it as close to the tip as you can get it without touching. This will keep the weed inside the cone.
Step 2: Pack in the Weed
Once you’ve rolled the tip of the cone, you can roll the rest of the paper around the cone. This will keep the marijuana inside the cone until you’re ready to smoke it.
If you want a tighter cone joint, you can try folding the paper over itself a few times before you roll it closed. This is a good trick if you’re struggling to keep the paper from unraveling.
It’ll also give you a tighter cone that can be easier to smoke from.
Step 3: Seal the Bottom of the Cone
You might notice that there’s a small gap at the bottom of the cone joint. This is the space where you’ll light the joint, so it needs to be closed off with the weed.
If your joint is too loose, you can use your fingers to close the gap. While holding the joint in your hand, use your thumb and forefinger to pinch the bottom of the paper closed. If your joint is too tight, you can try folding the bottom of the paper over itself a few times.
This will make it easier to light the joint and keep it from burning too quickly.
Step 4: Seal the Joint
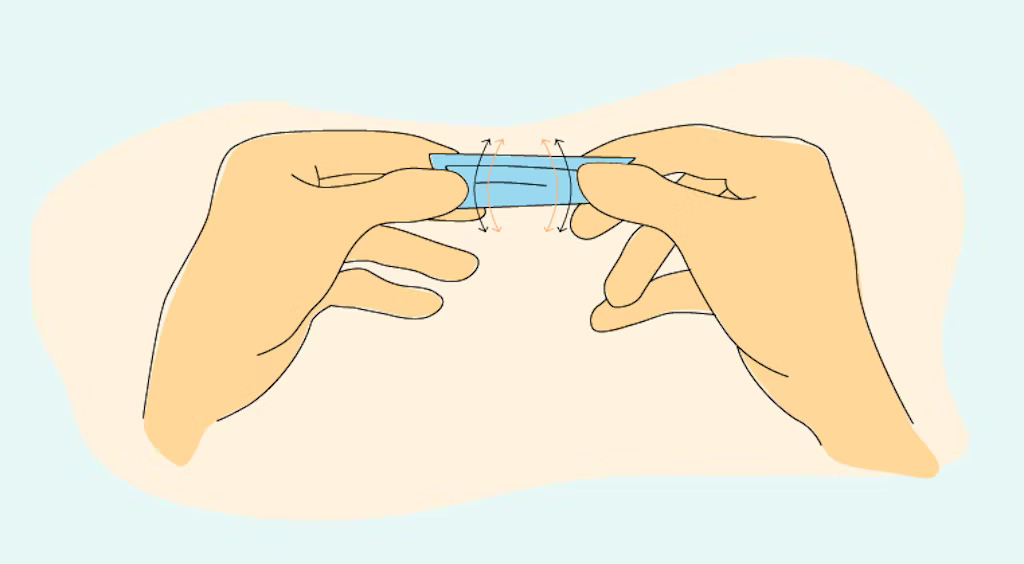
You’ll want to use the same direction for sealing the joint as you did for wrapping it. When you’re sealing the joint, you’ll want to make sure that the edge of the paper is flush with the edge of the weed.
You don’t want the paper inside the joint. You also don’t want the paper to extend past the edge of the weed. To get a cone shape it’s helpful to position your fingers much closer to the edges.
Try to make an angled crease in the paper before beginning to create a guide!
You need to roll the the cone at an angle to achieve the perfect cone joint!

Summary
A joint is one of the most classic ways to smoke weed. The cone joint is a specific variation that’s a little harder to master than the standard joint, but it’s definitely worth the extra effort.
A well-rolled cone joint is a thing of beauty. It looks great, tastes great, and it’s easy to smoke thanks to the thin paper it’s rolled with.
Check out some of our Pre Rolls!
The best way to roll a perfect cone joint is to start with the tip and work your way down.
Roll the tip into a cone shape, fill it with weed, and then use your fingers to seal the bottom of the paper closed before you roll the rest of the paper around it.
Once you’ve got the hang of it, you’ll be enjoying a perfect cone joint in no time at all.


