No products in the cart.
How to Make an Apple Pipe to Smoke Weed Fast and Easy
27 Aug 2021

Don’t have materials to roll up your dunk weed with? Enter an apple pipe!
If you’ve ever been in a situation where you don’t have any supplies and can’t get stoned, you know what a major buzzkill it can be. What’s worse than having some dank weed at your disposal and no materials to roll it up with?
Luckily for you, those proficient in cannabis supplies have a solution. There are workarounds for these types of situations where there is a lack of rolling supplies. When times are tough, tokers rely on a trusty tool called the apple pipe.
An apple pipe is an actual pipe made of an apple that can be utilized for smoking cannabis when no rolling materials are around.
Keep on reading to learn more about this smoking device and how to make a pipe made of an apple!
What is an Apple Pipe?
An apple pipe is a smoking pipe constructed from an apple to smoke cannabis.
Apple pipes are utilized extensively for their discretion and easy disposal characteristics. What’s more, apples are inexpensive, so you don’t need to break the bank to make an apple pipe.
Tokers have been utilizing fruits to smoke cannabis for quite some time. Along with apples, you may spot cannabis smokers using fruits such as pineapples, watermelons and even cucumbers.
Yet, one of the best ways to smoke cannabis is the apple pipe. Don’t believe us? Just enter ‘apple pipe’ in Google, and you will get about 111,000,000 results. Impressive, right?
How to Make an Apple Pipe

Making an apple pipe is easy. That being said, some might end up with a bit of a mess, but if you follow our steps precisely, this should not be a problem.
Here’s what you’ll need to create an apple pipe:
- An apple, pick one that is firm and not too soft (avoid apples such as Gala or a Red Delicious).
- High-quality fresh cannabis (Cannabismo has got you covered!)
- Aluminum foil to preserve your cannabis from getting moist
- A knife, a clean screwdriver or a pen to poke a few holes
- Lighter, matches or a mini butane torch to light cannabis.
Step 1 – Cleaning Your Apple
Take a medium-sized apple. Clean it thoroughly to get rid of bacteria and other pathogens.
Step 2 – Removing The Stem
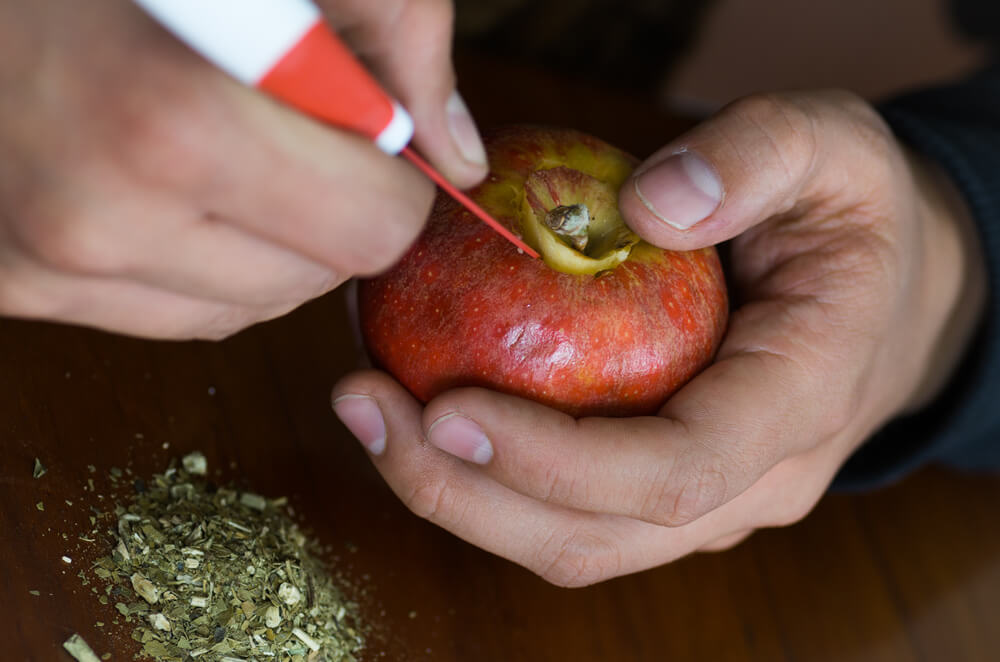
Now it is time to remove the stem from the top of the apple. This is also where you’ll create a bowl for your cannabis.
Step 3- Shaping the Top of the Apple Pipe
Once the stem is removed, you can use a knife or carving tool of your choice to carve a hole out.
That being said, don’t create too big of a hole. Carving out your hole too large can make your cannabis taste harsh, and who wants that.
Now it’s time to poke a hole down the top of the bowl. Using your knife or any other carving tool, insert it at the top of the apple. Slowly twist your tool to bore a hole until it reaches about halfway through the apple. This hole will be one of the pathways that will enable the smoke to travel through the apple.
Step 5- Lining The Bowl With Aluminum Foil
With a bowl now carved out, use some aluminum foil to line the interior of the bowl so cannabis won’t fall through and get moist.
Step 6 – Shaping the Side of the Apple Pipe
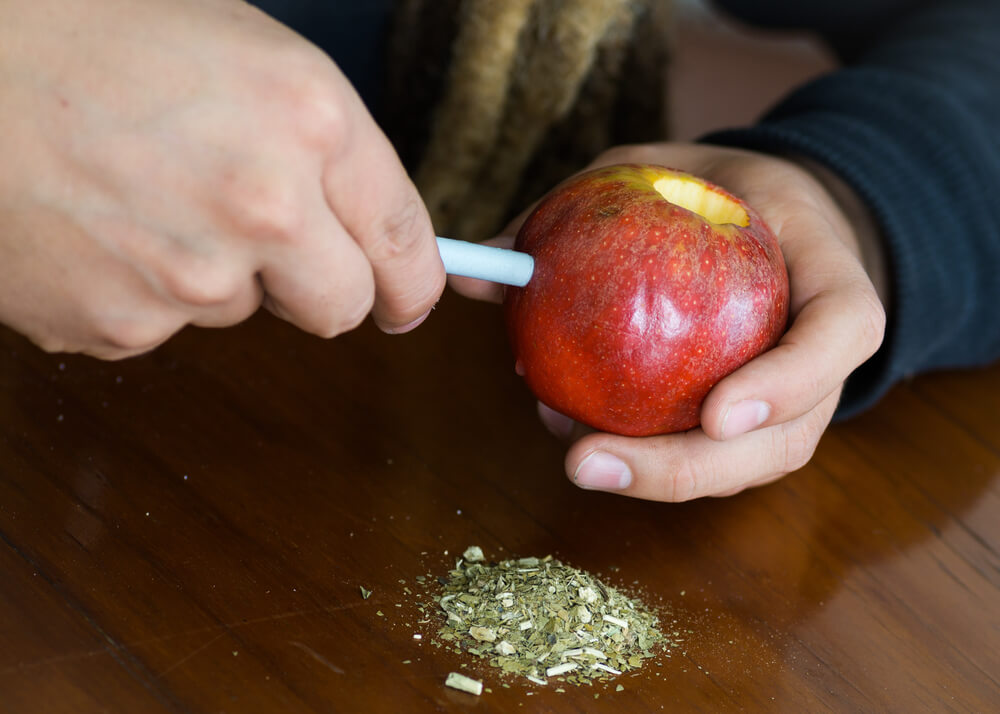
Now carve the interior of the apple from the side. Using either a knife or a pen, connect the mouthpiece hole with the hole from the top. This process will ensure the air can flow through the apple.
Step 7 – Making a Carb Hole
Finally, using your carving device, make a hole on the opposite side of the mouthpiece. This hole will also connect to the main hollow chamber, functioning as the carb and clearing the remaining smoke.
And that’s it! Now you can pack your cannabis, light it up and enjoy!
Final Thoughts
Now you know how to create an apple pipe at home. This device is a perfect solution when you don’t have supplies on your hands yet still need to smoke some weed, whether it be for recreational or medical purposes.
What’s more, apples are easy to find at grocery stores. Additionally, you can always pick up a few extra for a boost of vitamin C and fibre.
Happy toking!


