No products in the cart.


Curing Cannabis – The Best Way to Cure Weed
17 Aug 2023

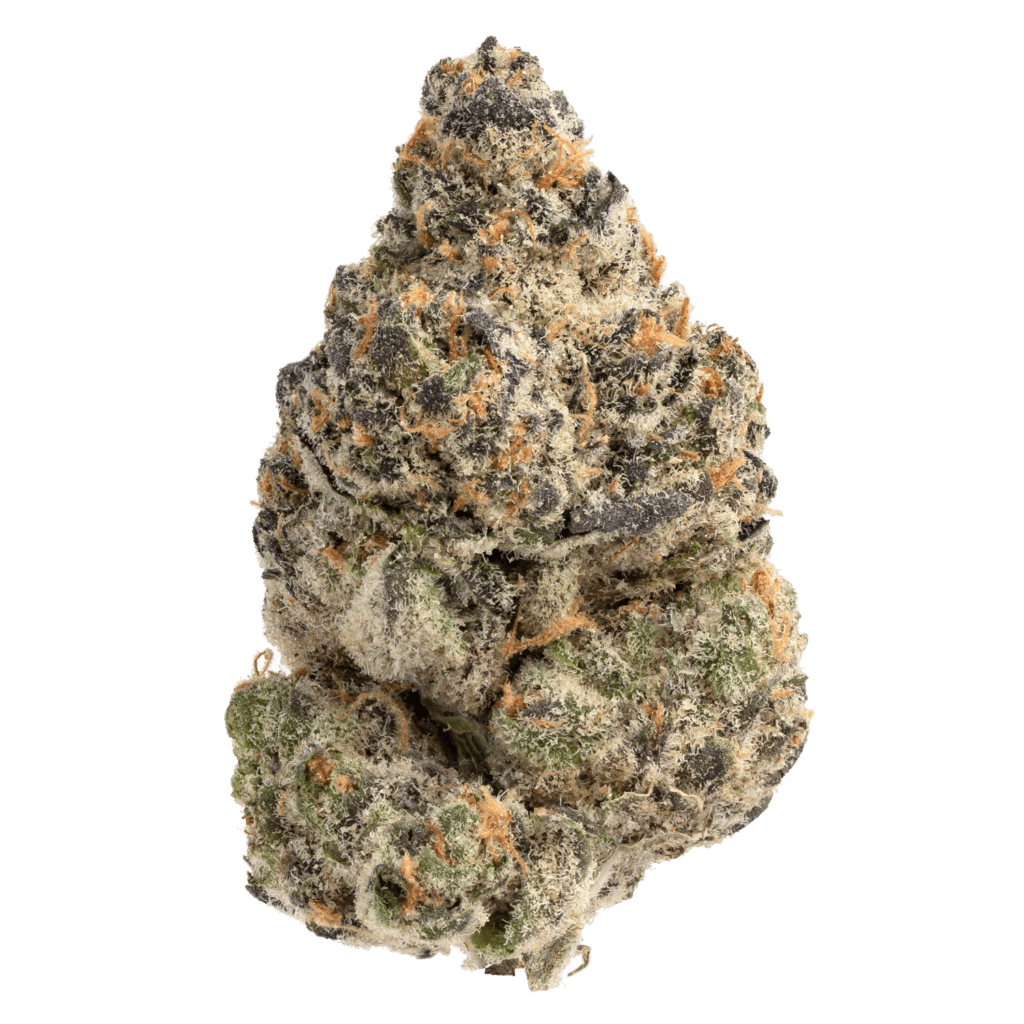
Curing cannabis is a complex process requiring some time and energy to produce a smooth, enjoyable smoking experience. Knowing how to dry and cure weed properly is a valuable skill that every cannabis enthusiast should learn in order to reap the maximum benefits from their weed.
There are many techniques for curing cannabis to choose from. However, knowing even one of them will boost your weed game crucially.
Without further ado, let’s discover what curing cannabis is, why it’s so important, and how you can do it yourself.
Curing Cannabis – What is it and Why Should I Care?

Curing cannabis is a long and arduous process, sometimes taking weeks or even months, but don’t get us wrong, it’s well worth the effort and the wait.
The reason growers spend so much time on curing weed is because they want to degrade byproducts like sugars that are known to leave a particularly unpleasant and harsh aftertaste. Fortunately, curing cannabis banishes this.
What’s more, growers also use slow drying and curing to avoid destroying terpenes and preserve various terpenes’ flavours. Additionally, properly curing cannabis buds reduces the chances of developing mould, which can ruin your buds.
In terms of process, curing cannabis consists of a drying period followed by a more prolonged drying period, also known as curing. That said, there are some key differences you need to know about “drying” and “curing” weed.
The first step of drying reduces the water content of the buds to around 10-15%. After this step is done, some growers opt to avoid curing buds further and sell their crop right away.
However, this is not an ideal scenario.
Curing is a necessary step that allows the bud to dry and retain THC in its psychoactive state. The curing process also leads to the highest possible quality of the smoke.
Thus, curing cannabis eliminates the green, earthy flavour and replaces it with that classic “dank” flavour that is recognizable for high-quality weed. So, if you want to obtain high-quality, delicious buds that don’t taste like grass, the curing stage is crucial.
In terms of where you can dry and cure cannabis, the drying process can be completed outdoors. However, the curing process needs to be done in an indoor environment where you can control climate and temperature.
Now that you know what it is let’s delve into why curing cannabis is important.
Why is Curing Cannabis Important?
As we’ve quickly touched base, curing cannabis yields a better flavour and increases the number of terpenes and cannabinoids.
The reason for this has to do with the plant’s metabolic process. As marijuana cures, the conversion of CBG to THC continues to rise, increasing the plant’s overall potency.
THCA (the acidic precursor of THC) is also converted into potent and psychoactive THC as the bud cures over time. Curing cannabis is also essential if you want to extend your flower’s shelf life. Mildew and mould are known to affect cannabis taste and can even lead to destroying your crop.
To avoid this, you will want to properly dry and cure your weed and keep it in the ideal growing environment while also storing it properly once it is harvested.
What’s more, the curing of cannabis also allows enough time for bacteria to break down chlorophyll. Chlorophyll is one of several compounds that contribute to harsh and poor-tasting buds.
Additionally, when cannabis is harvested, it still produces cannabinoids until all the moisture evaporates from the plant, which will yield a more therapeutic product. Finally, curing cannabis also keeps cannabinoids and terpenes inside your plant, giving it that potent dank smell cannabis is famously known for.
Factors That Affect the Curing Process

Before we get into the how-to’s surrounding curing cannabis, it’s crucial to learn the three primary factors that affect the curing process.
Knowing these elements will help you to avoid the degradation of your bud and the loss of taste and potency of your flower.
Keep Buds Away From Light
Exposure to light can ruin terpenes and cannabinoids, including THC.
If you want to avoid losing valuable compounds, find light-proof cannabis storage to keep your cannabis from the light and preserve its shelf life.
Keep Your Weed Away From Heat
Temperature is another factor that influences the degradation of your bud.
High temperatures around 80 degrees lead to mildew growth on your weed.
You should also avoid heat exposure to your bud because it can degrade the cannabinoids. Including your bud’s overall THC potency.
Humidity
Moisture encourages bacteria to break down the quality of your plants, leading to mould and mildew growth.
To avoid this, you will want to keep your weed in a controlled environment with proper humidity levels between 59 and 63% RH (relative humidity).
Interestingly enough, the factors that affect the curing process are the same ones that make weed moldy! To keep your weed dank and free of mold, check out our guide on how to keep your weed fresh!
How to Cure Cannabis – A Step by Step Guide

Step 1
If your buds were dried individually, you’re golden until the next step.
If you opted to dry them still on the branch, then you will have to trim your bud first and lose sugar leaves.
Step 2
Next, you’ll want to put your buds in airtight containers like a mason jar, filling it up about 75% of the way.
This step is also an ideal opportunity to see if your plants are dry enough to be cured. It can be done by giving the container a gentle shake. If they clump together, that means they need more time to dry out.
Step 3
Seal the container and keep it in a cool, dark place to protect it from potential threats, such as those discussed above.
A room or cupboard that maintains a relative humidity of 59-63% and a temperature of 69 degrees are the best conditions.
Step 4
Check on your curing buds about twice a day to make sure no mould is forming and supply some fresh air exchange for your plants.
You can also use a hygrometer to check humidity levels. When above the 60–65% threshold, leave the top off the container for about 3 hours so the excess moisture can escape.
If there is not enough humidity, keep the lid on longer between breathing sessions. If there is still no improvement in humidity levels, you can use a humidity pack to maintain an appropriate relative humidity in your jar.
When you have enough humidity, get rid of the humidity pack and let your weed cure as usual.
Step 5
Check on your buds about once a day for 2-3 weeks. Just make sure to maintain optimal temperature and humidity levels to avoid losing your stash.
After about three weeks, your buds should be cured and ready to enjoy.
Cured Weed – An Essential Part of Every Toker’s Diet
Now you know why curing cannabis is essential and how you can do it from the comfort of your home. As you have now learned, although it may seem like an intimidating process. However, curing cannabis can be quite simple and straightforward.
Important key takeaways are that it’s essential to make sure you keep your weed away from light and heat. In order to preserve the potency and freshness of your cannabis. You can also invest in a hygrometer so you can check humidity levels and maintain them between 59 and 63% RH to avoid mould infestations.
Keep your product sealed in an airtight container, follow our tips, and after 2-3 weeks. You will have a potent and perfectly cured product that will provide a flavourful and full-bodied smoking experience.
Happy curing!