No products in the cart.


How to Roll a Joint
6 Sep 2019
The joint is the iconic symbol of the cannabis culture, sometimes even more recognizable than the green marijuana leaf. Every cannabis user who savors the flavor of their flower should know how to roll a joint.
Joints come in a wide variety of shapes, sizes, and rolling methods; nevertheless, the most important aspect of rolling a perfect joint is to make sure it burns evenly and smoothly. I’d like you to check this step-by-step guide on how to roll the perfect joint in a traditional way.
The Prep Work
Before you begin to roll a joint, remember to gather all necessary tools and the material of your preference. Here’s the list of supplies each beginner should be equipped with:
- Rolling papers. The amount of different rolling papers can be overwhelming. Even though smoking is not the healthiest way to consume marijuana itself, there’s no reason for you to make the situation worse. That being said, you should always opt for natural and raw rolling papers that contain no toxic substances. As tempting as it may be, I wouldn’t recommend using flavored ones on a daily basis. Doing so may result in headaches and nausea over time.
- Cannabis grinder. If you don’t have your favorite grinding tool yet, it’s high time you bought one. Keep in mind the best grinders are heavier than cheaper substitutes, as they’re made of sterner stuff. More importantly, pay attention to what’s inside. The ideal grinder should be equipped with a couple of metal blades in order to help you mix your plant material well.
- Your best cannabis strain. When smoking weed, quality is of the essence. Moreover, the way you feel high depends on the strain, so if you’re up for a burst of creativity, you’d better have some potent sativa in your collection. On the other hand, if you’re aiming at having a cool day when drowning in your sofa, you may turn your eyes to indica. But like I said, quality comes first!
- Joint crutch or filter. Nobody likes getting burned, even if it’s weed. Given this, a couple of paper filters will come in handy.
- Optional: A pen, or something of a similar shape to pack your joint.
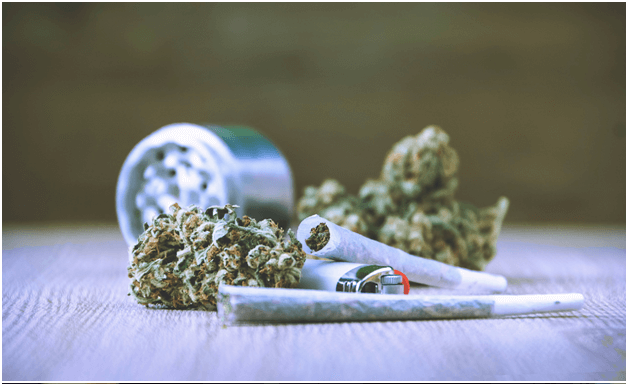
Step 1: Grind the Bud
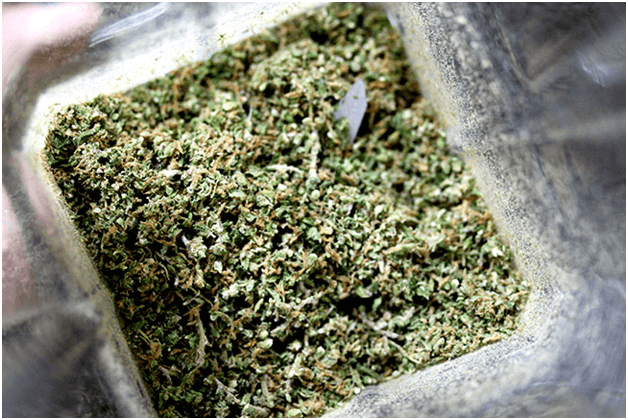
Source: Stoner Things
First things first, you’re going to break up your plant material into a shake-like consistency. A well-dried bud will break down easily, but with a solid grinder, you’ll most likely break up any cannabis. The tool will keep your hands from getting sticky, which proves a total relief for the very rolling process.
Alternatively, you can crush the herb down with your bare hands; but then again, the plant material will stick to your palms, making it particularly unpleasant when working with rolling papers.
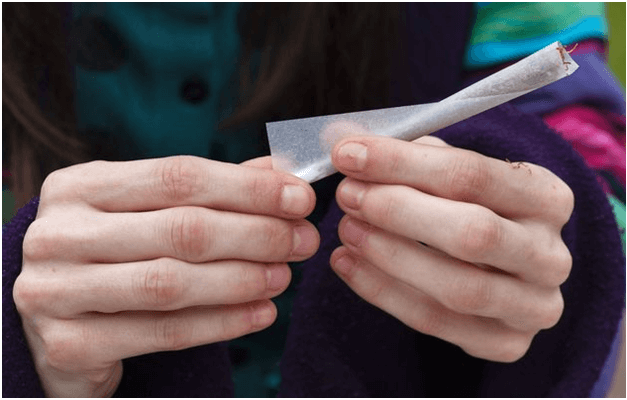
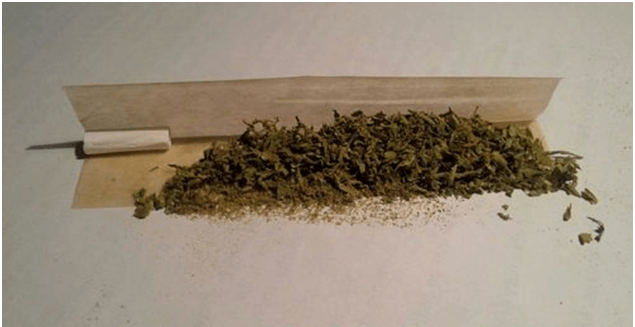
Step 2: Make the Filter
Source: All Weed News
You can make a tip out of just anything, but business cards and thin cardboards are hands down the best materials. Most of the times, a package of joint papers comes with the filters already attached to it, so there won’t need to spend extra money on your tips.
To roll the filter, gently fold the end of the cardboard and roll it to the desired thickness of a joint. Although the tip is not necessary for smoking a joint, it keeps the ground bud from falling into your mouth during smoking. Above all, a filter makes a joint more stable so that you’ll be able to fully enjoy every piece of the herb with no risk of burning your fingertips.
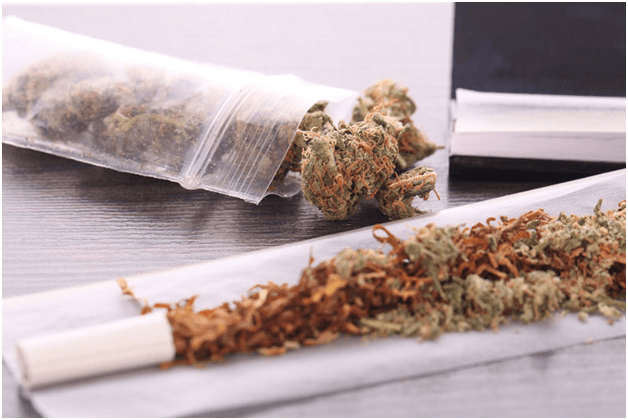
Step 3: Fill the Joint With Weed
Source: Urban Greenhouse
Place the tip at the back end of your joint. Once your structure is solid enough, sprinkle the herb over the paper, hold the opposite end of the paper with your fingertips, and align the material. Depending on your preferences, you may mix cannabis with tobacco. Again, use natural rolling papers. Many people decide to go with hemp ones, as they are both thin and strong enough to sustain larger amounts of marijuana.
Step 4: Roll the Joint
Source: QuotesGram
Once you’ve filled and shaped your joint, roll it back and forth with your fingertips. This will help you pack the cannabis down into the desired shape.
Rolling your joint can make or break the quality of your smoking experience, so you’d better keep your wits about you when approaching this step. Tuck the unglued side of your paper and roll it, using the glued edge to seal down both ends of the paper. Start with the filter because it will give the right shape to your joint from the very beginning. Last but not least, lick the glued side and work your way down the creation to seal the joint completely.
Step 5: Pack And Finish The Joint
Source: Green Flower Media
At this point, your joint should have an open end. This entrance to the green funnel can be filled with more cannabis. Should there be any remaining weed on your working surface, gather it together and pack your joint with the material. You can use a pen or a similarly-shaped tool.
The final step is to roll the tip of the joint. Create a small stick, pull the edges of the paper surrounding the tip, and flatten them a bit. When you light up the joint, the hoodie will fall off and your creation will burn evenly.
There are limitless methods of rolling a joint. Whether you prefer it big or small, slim or thick, or you simply want to go fancy with creating pieces of art with cannabis and rolling papers, you’re free to go. As long as you enjoy it!
Do you have any particular tips and tricks for rolling a perfect joint? What’s your favorite way to roll one? Share your stories and feel free to brag about your skills!